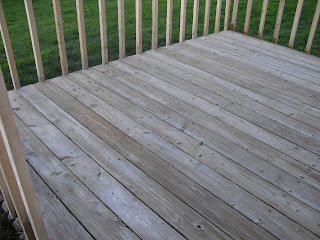
In the summer of 2011 we decided the old deck needed some love and a serious make over. :) This was one of the bigger projects I picked up that summer. Here are a few "before" shots of the deck. It took a while to find a stain we liked. After we found a stain we like it was time to prepare the deck. There are a few ways you can do so; sanding, power hoses and solutions. The purpose of preparing the deck is to remove all the old stain so the wood can accept the new coat you want to apply.
 |
| Before Rails |
 |
| Before Stairs |
Be patient though, it did take me a couple of erasers to get it all off.
 |
| Before Base |
If you prepared your deck like I did using a power house, you need to wait for the deck to completely dry. I waited a full 24hrs before staining to be sure the would was entirely dry. If you do not wait, the stain will not hold to the wood and you will end up with "spots" on the deck of the old wood showing through. Once your deck is completely prepared and ready to receive the new coat you need to find a way to apply it. Again, there are several ways to do this as well. I chose to use a sprayer to apply my new coat to assure I got an even application without any blotches or dry drops.
 |
| I used this sprayer. I found it in the painting section of my local hardware store. |
These are the after pictures of the deck.
I think it turned out quite well.


